New! Caddis Progressive Readers

I was one of those women of a certain age who would wear readers, and when not in use, I’d wear them on top of my head. I sometimes forgot that they were there. And sometimes, when I’d bend over, they would fall to the floor (RIP drugstore readers). A friend told me about Caddis progressive readers, and I’m not overstating things when I say they are life-changing.

First of all, I dig this company. The models on their website are real people — not models or photoshopped to look years younger. There’s something that put me at ease purchasing for a company that showed women with the same crinkles around the eyes that I see in the mirror.

Here’s what they say on their website:

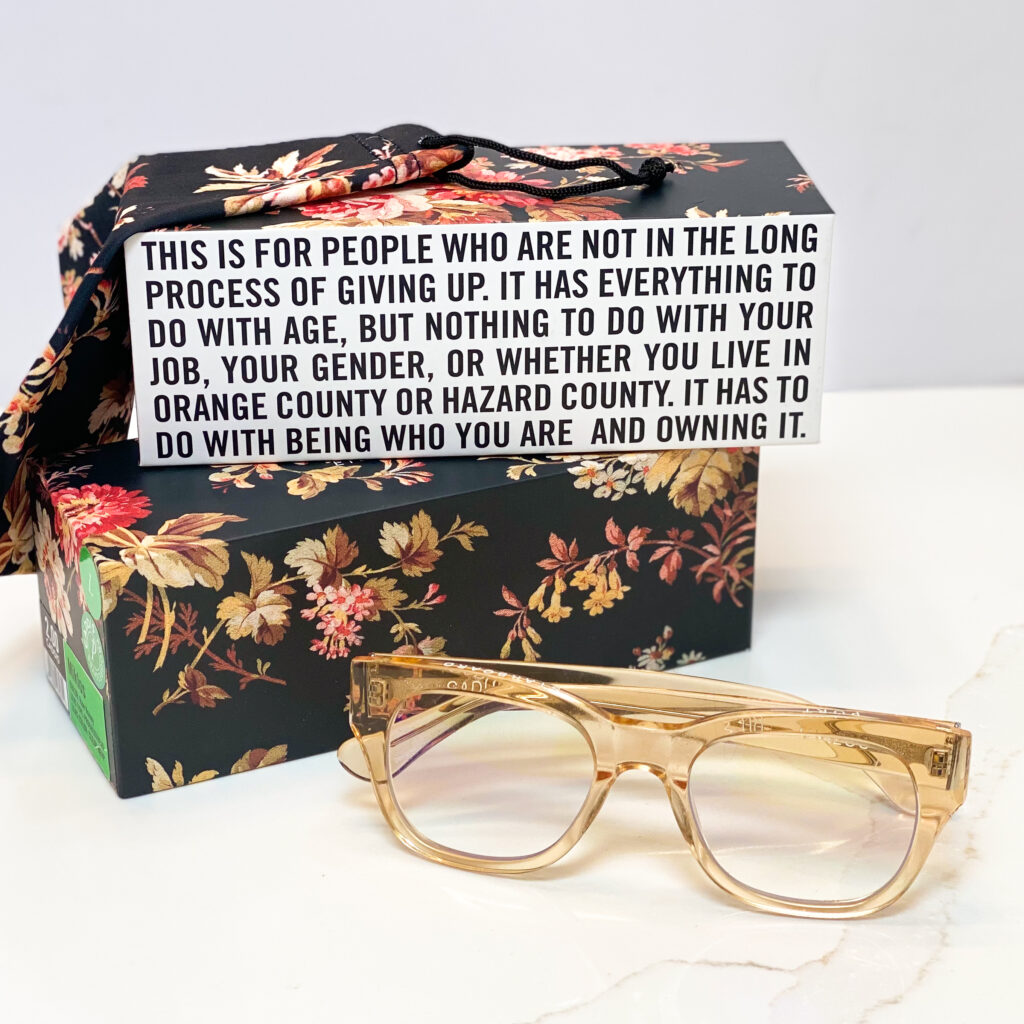
CADDIS is the anti anti-aging brand. That’s our stance. We want to have an open and frank conversation with you about how absolutely right on it is to be the age we are, right here and now. CADDIS is calling bullshit on 50 is the new 40, on the whole fountain of youth illusion, on the many industries that are profiting on vanity and fear of age, on the concept of “aging gracefully” and on the notion of raging against the dying of the light. Now is what we got, and now is pretty awesome.

How cool is that? That’s my kind of company. In a world full of companies trying to make me look younger, hipper, or just not as old, Caddis is telling me, “It’s okay, Mimi. Live your best fifty-something life. All the cool kids are.” As my kids say, I’m here for it.

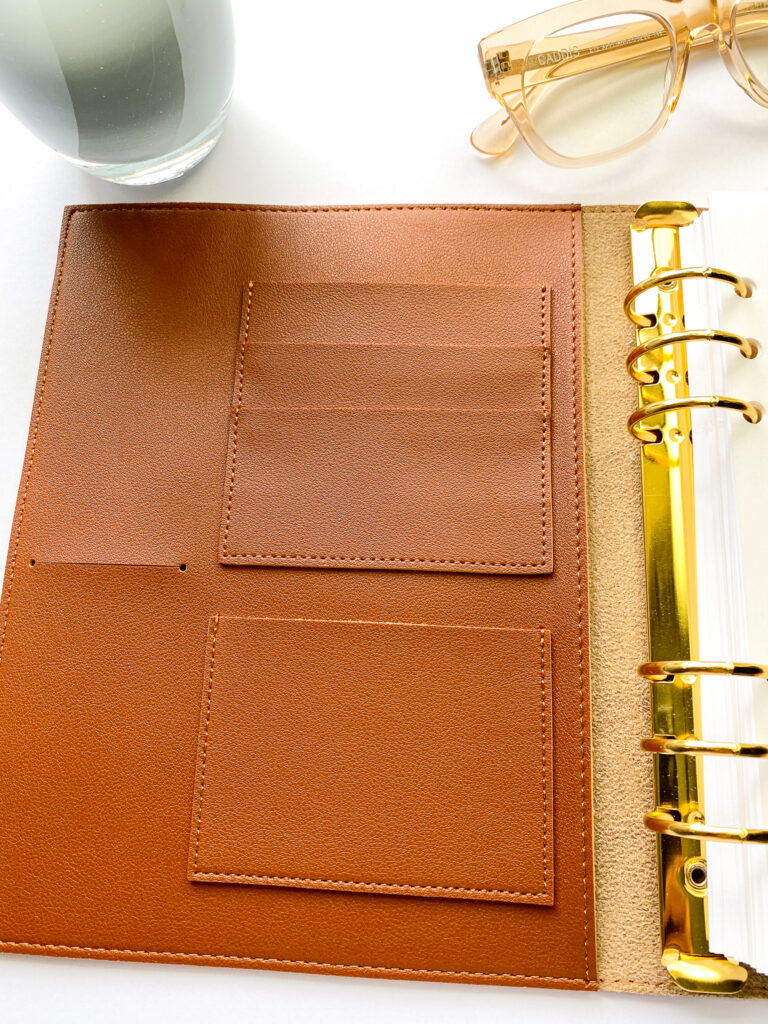
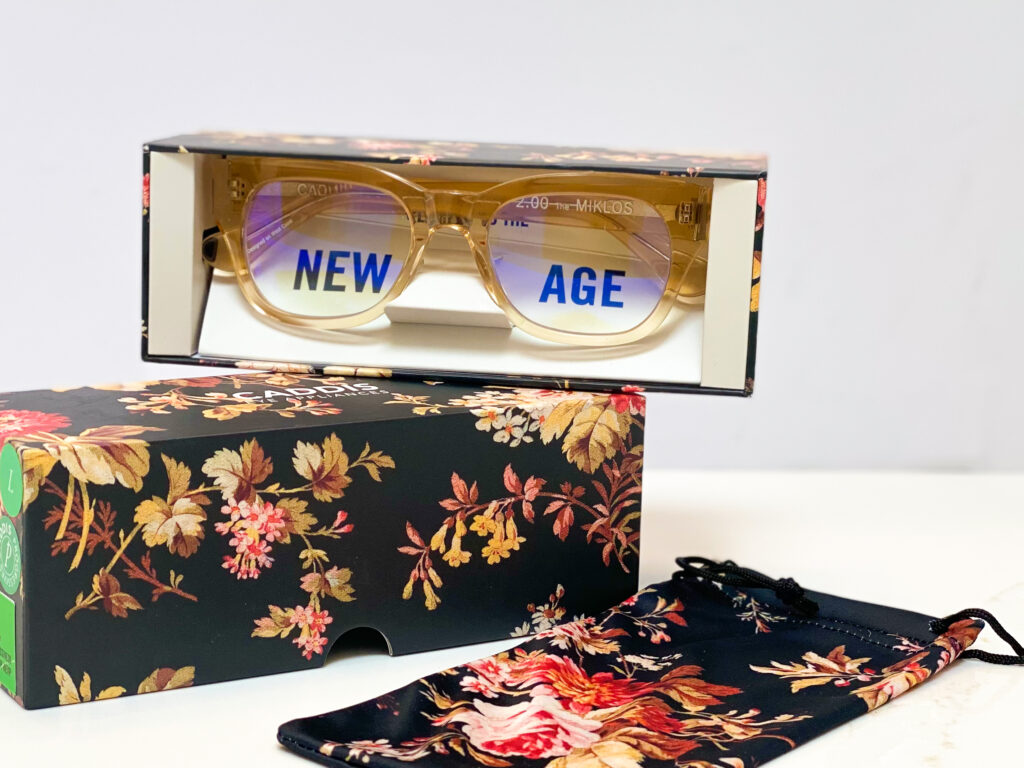
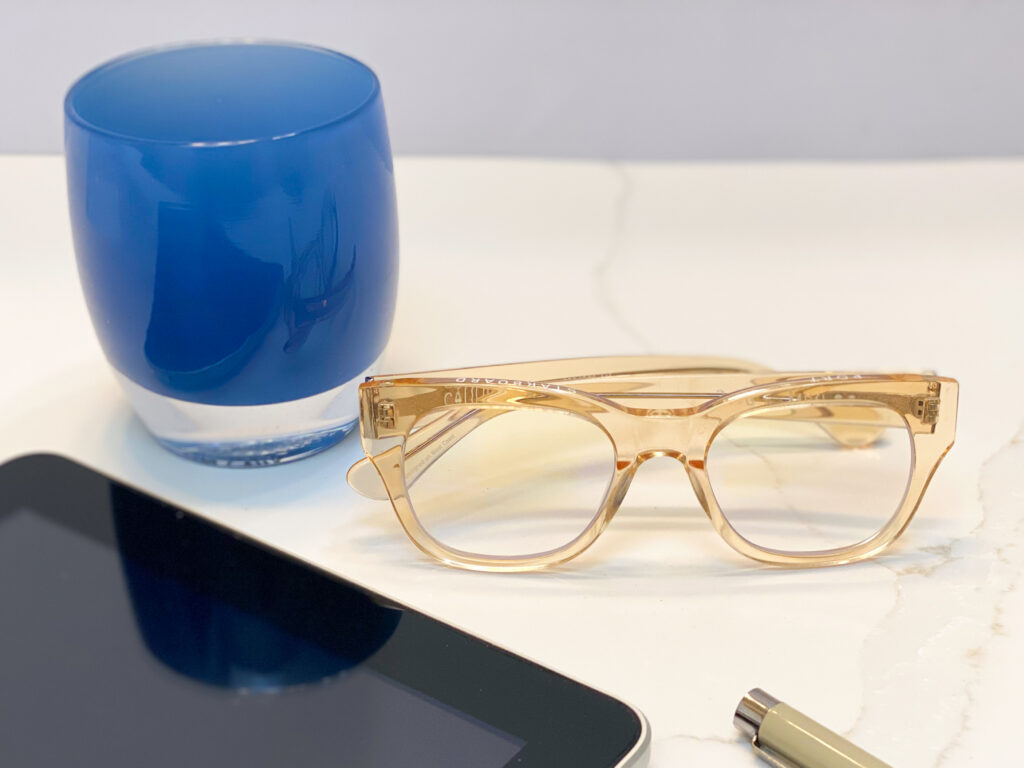
So I ordered the Miklos progressive glasses in Raw Honey. I hemmed and hawed (do people still say that?) before settling on the Miklos. There were so many unique and stylish options. These are not your average drugstore readers. When I got the package, I was so impressed with the packaging. So well done. And that quote on the box? Love.

It took me a few days for my eyes and brain to get used to the progressive element of the glasses, but as they stated in their packaging literature, it quickly adjusted. I now don’t have to move my readers to the top of my head when I watch television or simply walk downstairs. Plus they look very fashionable and even my husband commented on them.

I’m loving them. In fact, I’ve purchased another pair. This time, I went out on a limb. Because you’re only as old as you feel. And these Caddis readers make me feel fabulous. I’ll share my new pair with you soon!

Erin Condren A5 Lifeplanner Agenda: First Impressions

For the last year, I’ve been in a planner transition. It might have been the pandemic — or the lack of anything to plan — but my previous planning systems no longer worked for me. Or for some reason, felt right. When Erin Condren introduced her 2021-2022 collection the new A5 Lifeplanner Agenda caught my eye. It looked professional but still had the familiar Erin Condren inside pages that I was had grown accustomed to. It’s arrived and I thought I would give you a quick first impression of my new planner.

I have traditionally planned in a spiral-bound planner, which I have loved for years. But since I liked to plan in an 18-month planner the spiral seemed so large and became awkward as I moved through the year. So the 6-ring binder of the A5 Lifeplanner Agenda was very attractive so that I can add or subtract pages as needed. I also was drawn to the agenda itself. I love the envelope style and liked the idea of vegan leather. I chose the camel color but it also comes in blush, champagne, and mid-century circles. I’m anticipating heading back to the office soon, so the overall professional appearance was a big winner for me.

The inside page options come in daily or weekly. I chose weekly because that’s what I’m most used to in planning my days. I am intrigued with the daily pages and I could see myself experimenting with those down the road. If the inside pages were available individually (hint, hint. They are currently not.) I would purchase those as well and add them occasionally. There are three interior design options: mid-century circles, flora and just my Type Neutral. I like the professional look of Just My Type and I like my stickers and doodles to pop on the pages.

The size of the binder is a standard A5. I’ve read from other bloggers that most of their accessories from a FoxyFix, Kikki K. or FiloFax planner also work in the EC style. Bonus! The size in general is compact but I think large enough for my handwriting, which tends to be on the bigger side. The front of the binder contains three card-size pockets and one larger stitched pocket that I think I’ll use for page flags or sticky notes. To the left of the card pockets is a slot that could be used to hold a bookmark or pens. Under the entire panel is a pocket for holding papers and accessories.

The back of the agenda has a slot the full width of the panel. I added the Sea & Denim Focused Productivity Notepads Productivity pads from the EC Focused Collection. BTW – I love the EC Focused Collection. I have my eyes on a few pieces and accessories there. The whole collection really aligns with my simple and modern aesthetic and looks great in the office. The back of the agenda also has a two-sided pocket for additional storage and a sewn-in pen loop.

The weekly pages are only offered in a horizontal format. I personally like horizontal weekly planning, but I wouldn’t be surprised if EC offers a vertical option at some point. I know a lot of people really love vertical planning — especially hourly. I haven’t seen a lot of sticker options in the EC A5 horizontal format (I’m looking at you, PlannerKate!). I’m hoping that changes soon! I really like the additional space at the end of each week for weekly goals, to-dos or habit trackers.

Another thing I really liked with the inside pages is before each monthly spread there is a left lined page (perfect for my monthly goals) and a right page note boxes. I think I’ll use these for intentions, reminders and maybe even something motivational.

The two-page monthly spread features a monthly note column on the right. I’m not sure what I’ll use this for — but I’ll find something. I might use it for something purely decorative. The true test for me is whether the date squares are large enough for my writing. They seem to be slightly larger than the Petite Planner I’ve used in the past, so I am hopeful.

My initial thoughts are very positive and I can’t wait to get it set up for July! I’ll report back on how it’s going, but for now I think I might have achieved planner peace with the EC A5 Lifeplanner Agenda.

For more thoughts on this planner see my YouTube channel below!

Glasses are Caddis Miklos Progressive glasses in Raw Honey.

Glassybaby is Elephant.

Turn Your Furry Friends Into Pillows

As the march to move in Freshman year continues I decided Georgia might like some cute reminders of her furry friends she left behind at home. I found Aurespaces on Etsy and absolutely love the pillows they created for me. I had a hard time finding the perfect photo to use, mostly because I ordered them quickly one night to have them arrive before left. I also wanted Pippa and Lulu to have familiar expressions (is that a thing for dogs?) that would make her smile when she was lonely. They turned out perfect and were the perfect addition to her dorm room bed.

Order yours here!

So cute!

DIY DORM ROOM HEADBOARD

Freshman year college drop off is full of emotions, nerves and excitement. Helping my daughter decorate her dorm room helped burn off some nervous energy I had about her moving away and made me feel like I would be leaving her in a comfortable space. I tried to not take over the decorating process. Honestly, this was not easy for me to do. But I can say she picked out her favorite colors, theme and esthetic. She did a great job and I filled in the blanks with some crafty accents where I could without overstepping the boundaries we agreed upon.

She ended up being placed in a 100-year old dorm. It was beautiful but let’s just say it was quirky on the inside. I told her to pretend it was a funky New York City apartment and we’d do the best we could to spruce it up. One of the things she wanted was a soft headboard to lean back on when studying, reading or simply relaxing in bed. I looked online, but was hesitant to pay a lot of money for something for just one year – or possibly just a semester if her moved in at mid term. There were options online that simply Velcro-ed on to the wall but those seemed a bit precarious and might not stay affixed.

Her roommate for her freshman year was a friend from high school. So I ended up making two headboards because they wanted their room to match. So after scrolling through Pinterest and Instagram I took the best of what I found and added my own twist.

I started with thin boards from Lowes. The ones I used were really pretty thin. I might have opted for something thicker, but I was concerned about the installation process. I knew my husband would only be so patient on move in day, so I tried to make it as painless as possible. More on that later. After I got the boards home I took the measurements of the beds and cut the wood to the size of the outside posts of the bed. Thankfully the university provided really detailed measurements of the furniture, windows and room itself. I tried to keep the shape of the headboard pretty simple to minimize the detail of cuts that were needed. Using kitchen bowls for guidelines, I traced two curved semi circles in the corner for just enough detail to make it interesting but limiting any detailed cut I’d have to make.

After cutting both pieces in the desired shape with a reciprocating saw, I applied a foam backing. Since my goal was to provide a comfy place to lean on, I picked a ½” foam padding and applied it with spray mount. I needed to cut the same corner detail in the foam with a box cutter. Before applying my final fabric, I used some scrap cotton twill I had to smooth out the transition from the padding to the board. This was probably an unnecessary step in hindsight but I didn’t want to make a mistake with my more expensive upholstery fabric. Both the twill and upholstery fabric were cut approximately four to five inches larger than my wood and foam. I simple worked in small sections and stapled it to the back of the board. To keep puckering to a minimum I worked in the center top first and then moved to each side in small sections, pulling snug and stapling as I went. Around the corners I cut small ½ to 1 inch cuts to make sure it could be pulled smoothly around the curvature. Be careful to not make these cuts too deep or they could show up on the front side!

I decided to add some detail with upholstery nail tacks I found on Amazon. They were so easy to apply. I simply followed the lines of the board about 1.5 inches in from the edge and used the provided tacks and nailed them in the open spots. I used a small hammer and was careful to not mar the top of the nailhead by using a scrap of fabric to cushion the blows of the hammer. One thing to keep in mind is the tacks are barely long enough to go through the foam and fabric and set into the wood. If I were to do it again, I might sacrifice a bit of comfort and cushion and use thinner foam to make it easier to apply. You can see in the photo below that the headboard on the left has a tack strip that came loose during transportation. However, it was easily nailed back in.

For installation I bolted the board to 2x4s attached just on the inside of the bed posts. Since I wouldn’t be able to bolt them to the bed itself – though I was tempted – I wanted the 2x4s to sit on the floor for support. I then took velco strapping and looped them around the bed post at a couple spots in each leg. This technique, plus pushing the bed and headboard completely to the wall, created a super secure structure. Although I’m a bit embarrassed to say I did bring power tools to move in day. I didn’t know the exact height of the bed and waited to cut the 2x4s to the appropriate length. We waited to send the girls off to wait in the check-in line and to save them from a cringeworthy moment when mom was using power tools in the dorm. I went quickly and the sawing only lasted a minute or two. Afterward I did hear one mom in the hallway ask, “did I just hear a saw?”

Supplies:

Thin board

Reciprocating Saw

Fabric

Foam Backing

Spray Mount

Staple Gun and Staples

Brad Nails

Small Hammer

Box Cutter