
One of the favorite crafts I made for the twins’ 21st birthday was these huge, ginormous numbers. They were so cute for a photo prop and really made our celebration feel special. The best part was they were really easy to make and cost me less than $30 with materials found mostly around the house. Compared to the $200+ for party rentals, I thought it was quite a bargain. Also, I like to play with scale and gravitate to large items that make a significant impact in photos. These were a hefty 5′ tall, however, this project could be done on a much smaller scale requiring even less time and money.
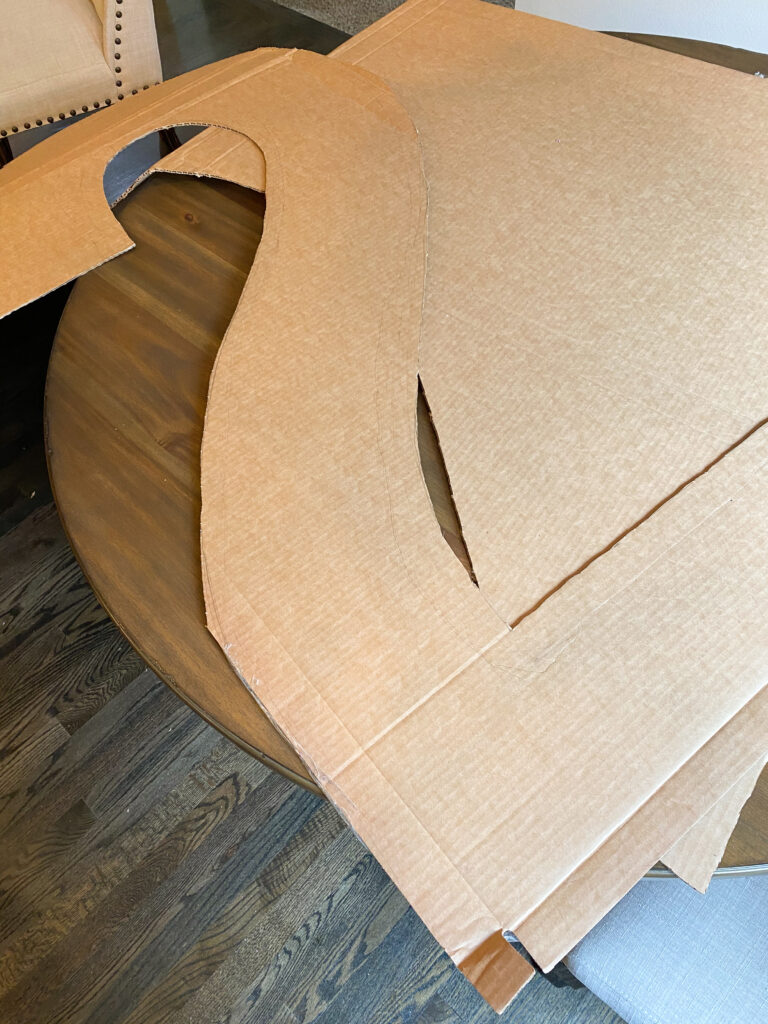
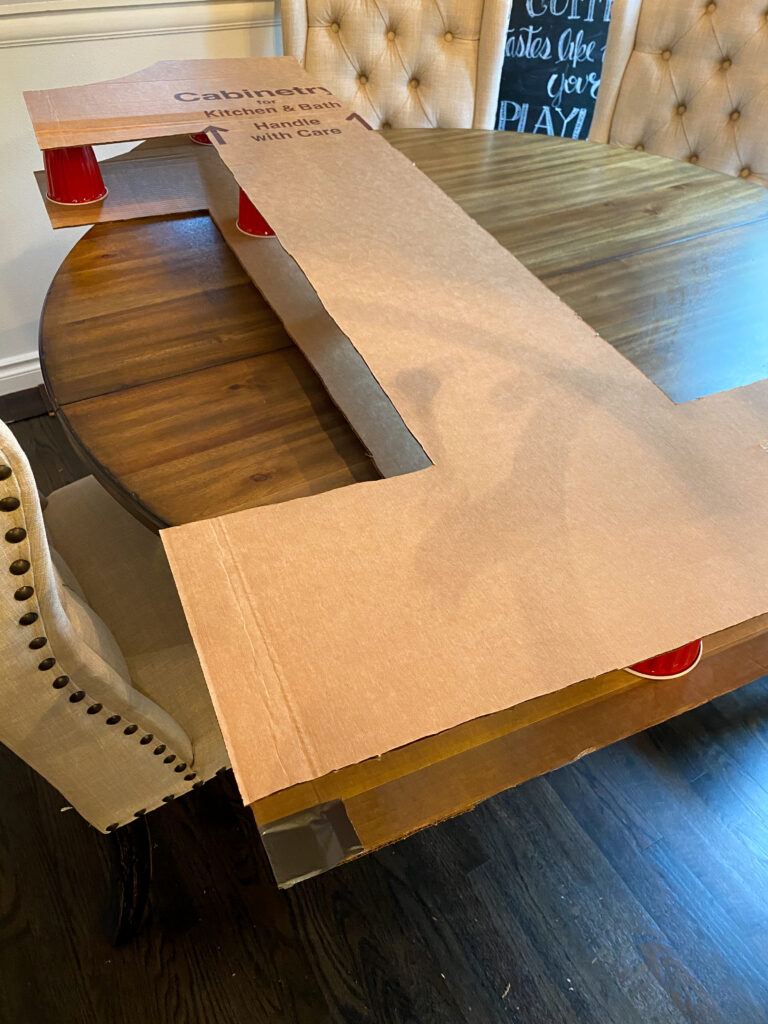
I started with some leftover cabinet boxes that my friend June had access to. Thank you, June! Some were folded but I tried to use the straightest pieces, knowing that a few folds would not be a big deal because the entire panel would be reinforced later. I sketched out the approximate width I wanted for the numbers with two pencils duct-taped to a ruler. (Don’t laugh. I’m sure you could use a special tool for this. Maybe a compass? But I used what I had on hand.) With a ruler, I then evened out the shape of my numbers and cut them out with a box cutter.
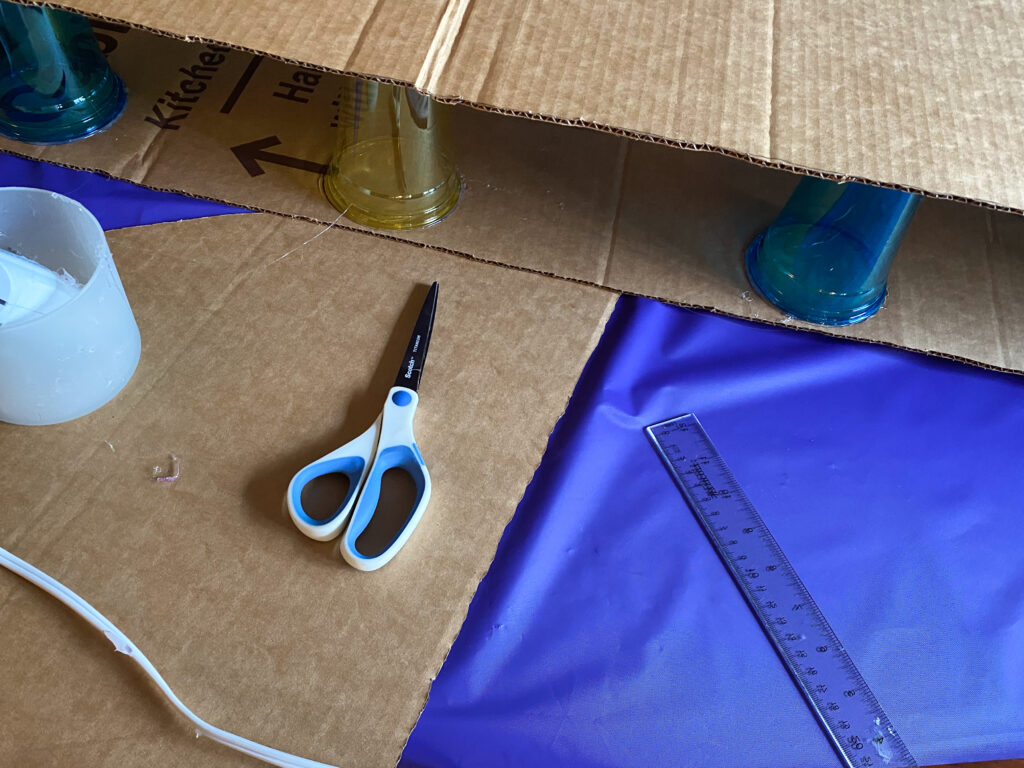
I then used solo cups we had on hand to stabilize the panels, allowing the numbers to be free standing and moved to several locations. I glued them to the bottom of the panel anywhere from 6 to 12 inches apart, depending on the shape of the number and areas that needed to be more sturdy. I then applied glue to the tops of the cups and carefully aligned the panel and placed on top.
To seal the sides, I used plain 100 lb. cards stock I had on hand. I buy this cardstock on Amazon to use for a variety of projects. It took about 30-40 pieces of card stock trimmed to the exact width of the numbers. I used my hot glue gun to get a nice seal on both sides. Be careful though — hot glue gun glue is very hot.
After the sides were sealed I made sure each number could stand on it’s own independently. I had to make some very slight adjustments to the bottom of one number to make sure it would balance properly. After the numbers were fully sealed (I didn’t seal the bottom though), I took them outside and spray painted them with rose gold metallic spray paint from Hobby Lobby. I knew I was going to cover the front with tissue paper flowers, but I wanted the edges and back to have a neat, professional look as well.
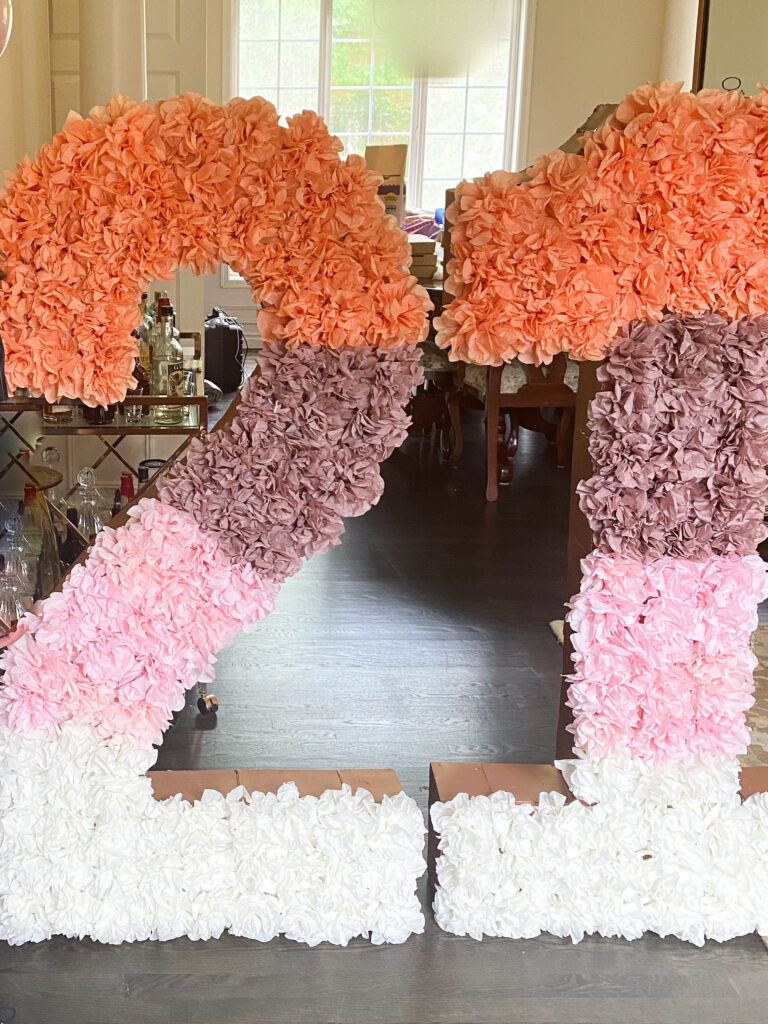
For the flowers I attached to the front panel, I used four colors of tissue paper from Nashville Wraps. Nashville Wraps is my favorite source of tissue paper for gift wrapping and crafts. They have so many really interesting colors and you don’t have to buy in extremely large quantities. It ships quickly, too! The girls’ party would use the colors off white, pale pink, light peach and rose gold. So I wanted to use those colors in the numbers as well. Making the flowers to be attached was absolutely the most time consuming part of making the giant letters. Luckily for me, we were binge watching Game of Thrones at the same time, so that made the mindless assembly of some 200 flowers a little easier.
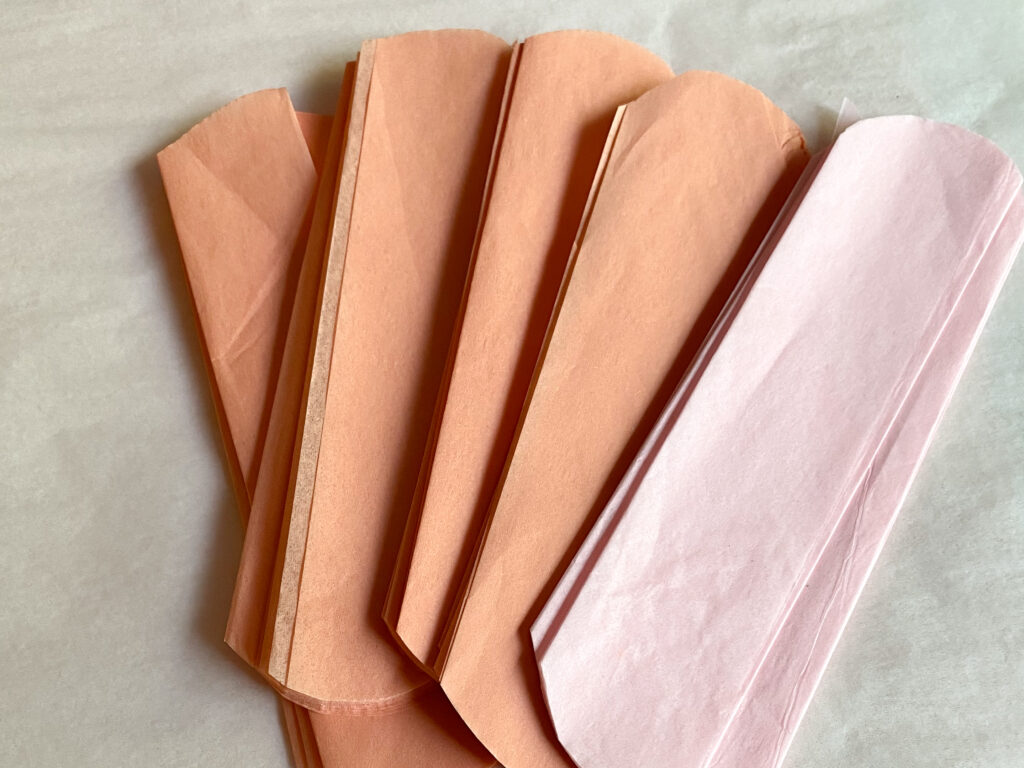
I wanted to make my tissue paper go as far as possible so I used one full sheet of tissue paper to make two flowers (See? I told my husband I was thrifty.) I folded one piece of paper in half and then folded it accordion-style all the way down. I cut it in half and then rounded the edges of each piece.
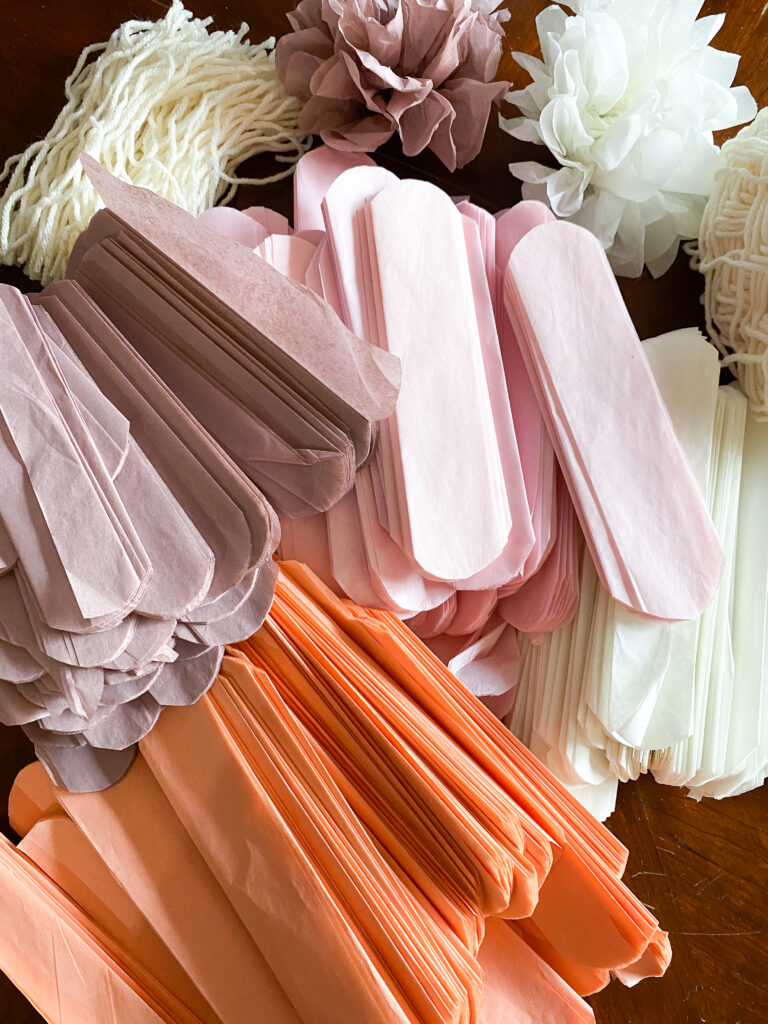
After I folded and trimmed all the pieces I cut a large stack of of 5″ to 6″ pieces of yard I had laying around the house. You could use string, heavy thread or even wire. Then, one-by-one, I tied the piece of yard tightly around the middle of each folded piece. After secured in the middle, I pulled apart the tissue paper, fluffing as I went. Repeat. Repeat. Repeat. (Oh, Jon Snow, you made this process much more enjoyable.)
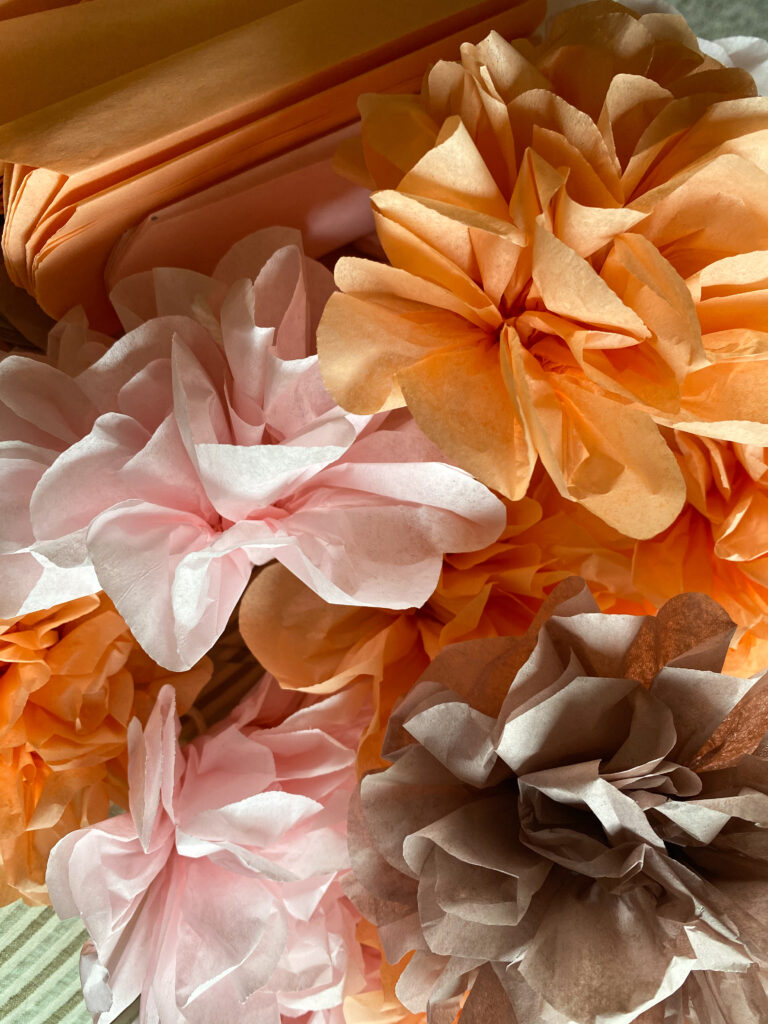
I ended up with piles and piles of flowers. Rather than randomly affixing the colors, I decided to use a stripe-like pattern. An ombre of colors would also be really pretty. I use a hot glue gun again to affix each flower to the appropriate section of the number.
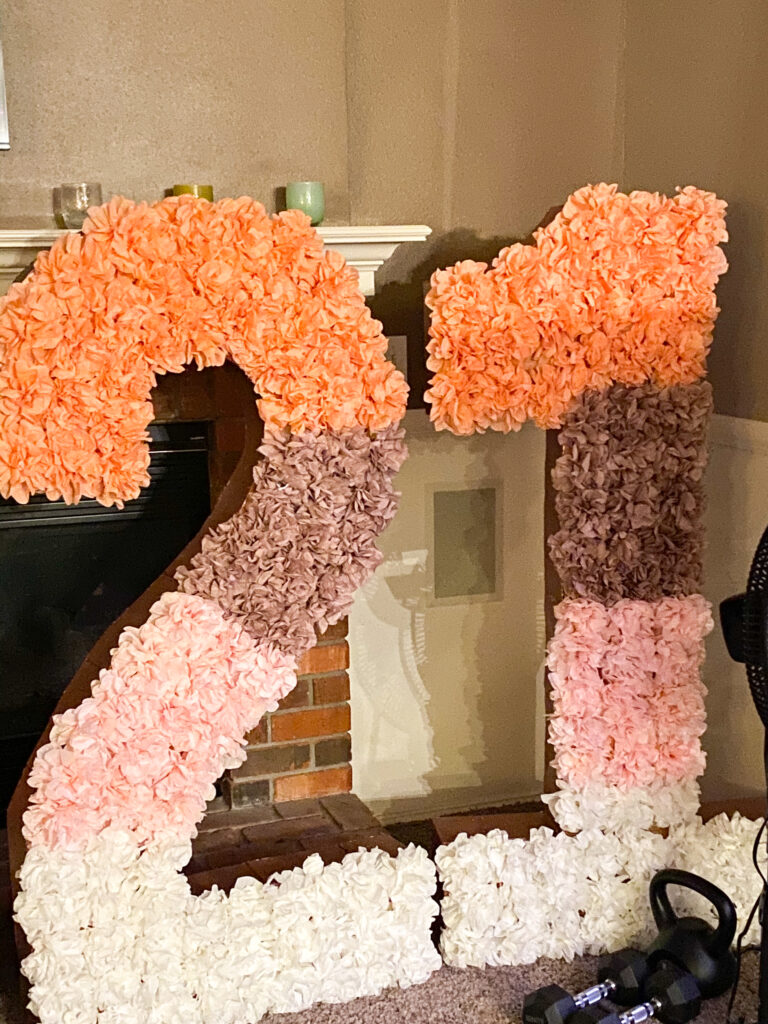
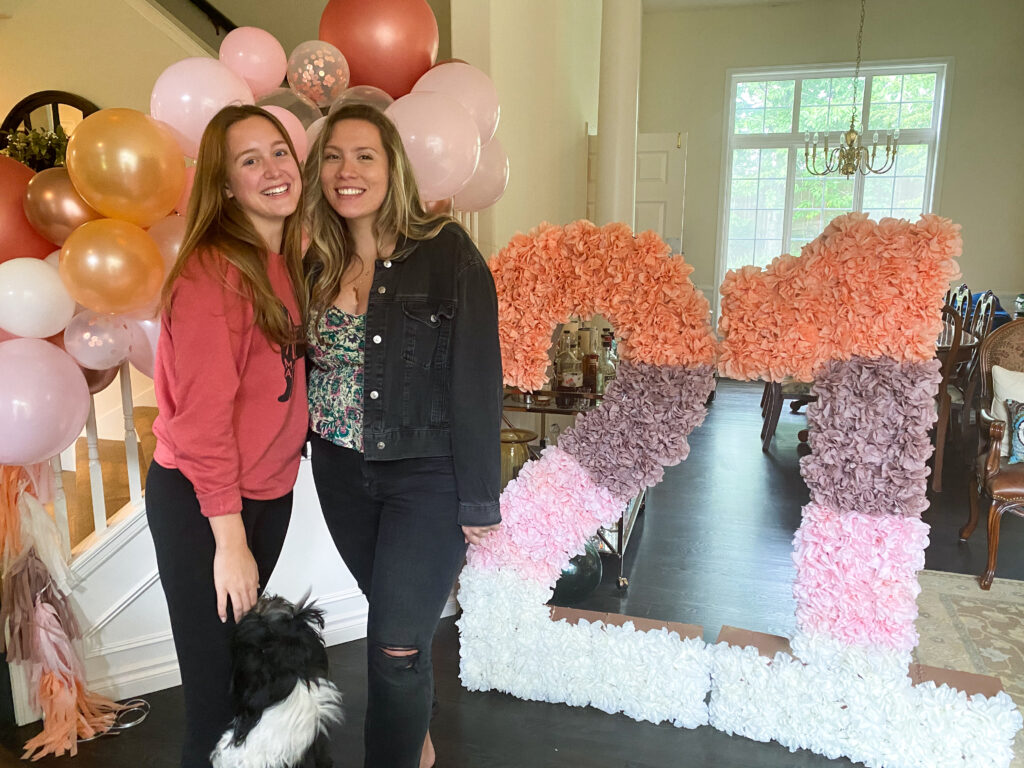
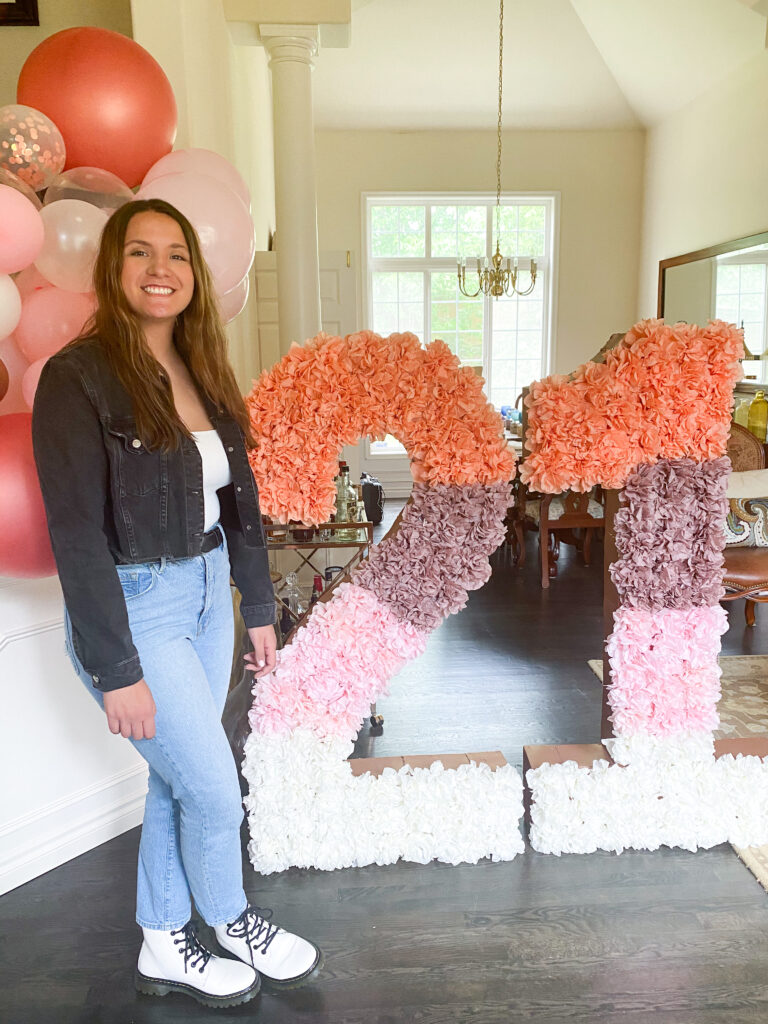
I think they turned out adorable and the girls and their friends were excited to take photos with them. They even made their way to their birthday weekend getaway several days and several hundred miles away. They were light and easy to transport in a small SUV. I think this same process could be used to create giant names for a baby shower or using only one panel to create a number or letter framework to hold a variety of sizes of balloons.
When the giant tissue paper numbers arrived back home, they were donated to a young girl graduating from high school for her graduation party. Class of 2021! What a great way to recycle and share the gift of crafting!