Freshman year college drop off is full of emotions, nerves and excitement. Helping my daughter decorate her dorm room helped burn off some nervous energy I had about her moving away and made me feel like I would be leaving her in a comfortable space. I tried to not take over the decorating process. Honestly, this was not easy for me to do. But I can say she picked out her favorite colors, theme and esthetic. She did a great job and I filled in the blanks with some crafty accents where I could without overstepping the boundaries we agreed upon.
She ended up being placed in a 100-year old dorm. It was beautiful but let’s just say it was quirky on the inside. I told her to pretend it was a funky New York City apartment and we’d do the best we could to spruce it up. One of the things she wanted was a soft headboard to lean back on when studying, reading or simply relaxing in bed. I looked online, but was hesitant to pay a lot of money for something for just one year – or possibly just a semester if her moved in at mid term. There were options online that simply Velcro-ed on to the wall but those seemed a bit precarious and might not stay affixed.
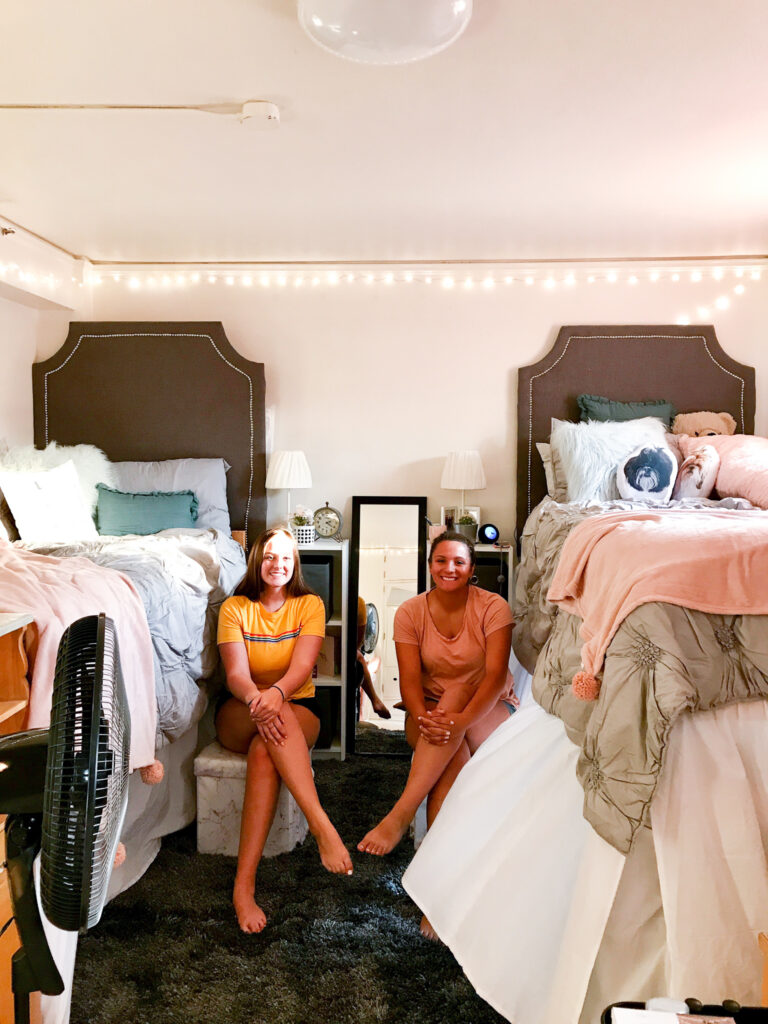
Her roommate for her freshman year was a friend from high school. So I ended up making two headboards because they wanted their room to match. So after scrolling through Pinterest and Instagram I took the best of what I found and added my own twist.
I started with thin boards from Lowes. The ones I used were really pretty thin. I might have opted for something thicker, but I was concerned about the installation process. I knew my husband would only be so patient on move in day, so I tried to make it as painless as possible. More on that later. After I got the boards home I took the measurements of the beds and cut the wood to the size of the outside posts of the bed. Thankfully the university provided really detailed measurements of the furniture, windows and room itself. I tried to keep the shape of the headboard pretty simple to minimize the detail of cuts that were needed. Using kitchen bowls for guidelines, I traced two curved semi circles in the corner for just enough detail to make it interesting but limiting any detailed cut I’d have to make.
After cutting both pieces in the desired shape with a reciprocating saw, I applied a foam backing. Since my goal was to provide a comfy place to lean on, I picked a ½” foam padding and applied it with spray mount. I needed to cut the same corner detail in the foam with a box cutter. Before applying my final fabric, I used some scrap cotton twill I had to smooth out the transition from the padding to the board. This was probably an unnecessary step in hindsight but I didn’t want to make a mistake with my more expensive upholstery fabric. Both the twill and upholstery fabric were cut approximately four to five inches larger than my wood and foam. I simple worked in small sections and stapled it to the back of the board. To keep puckering to a minimum I worked in the center top first and then moved to each side in small sections, pulling snug and stapling as I went. Around the corners I cut small ½ to 1 inch cuts to make sure it could be pulled smoothly around the curvature. Be careful to not make these cuts too deep or they could show up on the front side!
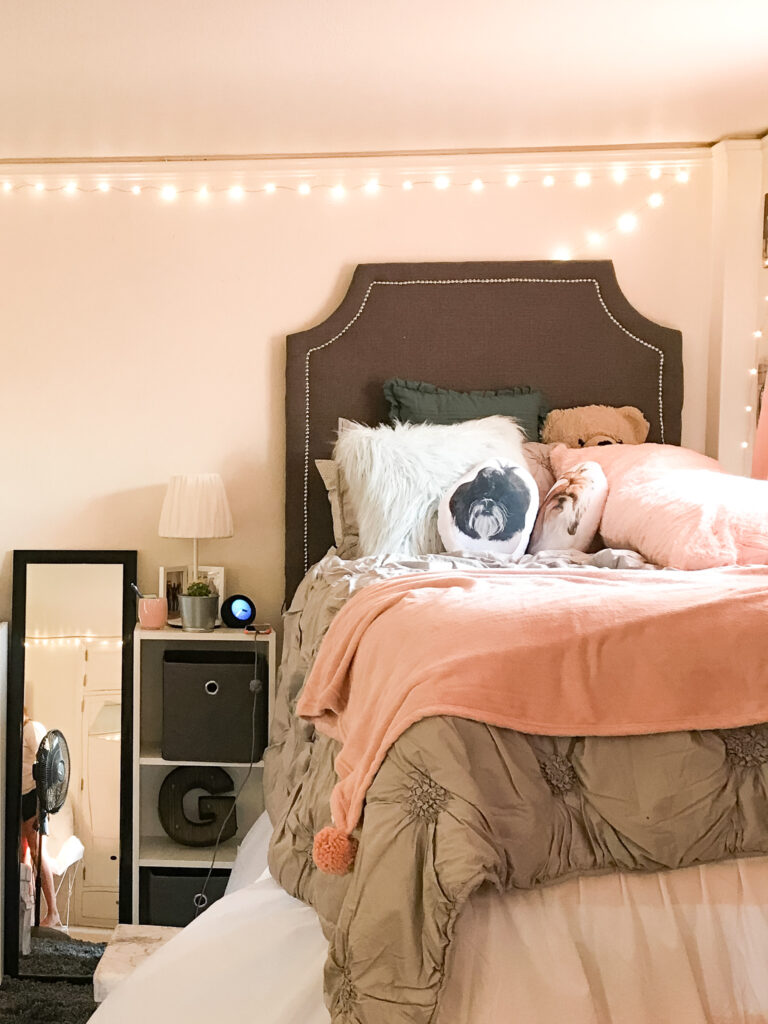
I decided to add some detail with upholstery nail tacks I found on Amazon. They were so easy to apply. I simply followed the lines of the board about 1.5 inches in from the edge and used the provided tacks and nailed them in the open spots. I used a small hammer and was careful to not mar the top of the nailhead by using a scrap of fabric to cushion the blows of the hammer. One thing to keep in mind is the tacks are barely long enough to go through the foam and fabric and set into the wood. If I were to do it again, I might sacrifice a bit of comfort and cushion and use thinner foam to make it easier to apply. You can see in the photo below that the headboard on the left has a tack strip that came loose during transportation. However, it was easily nailed back in.
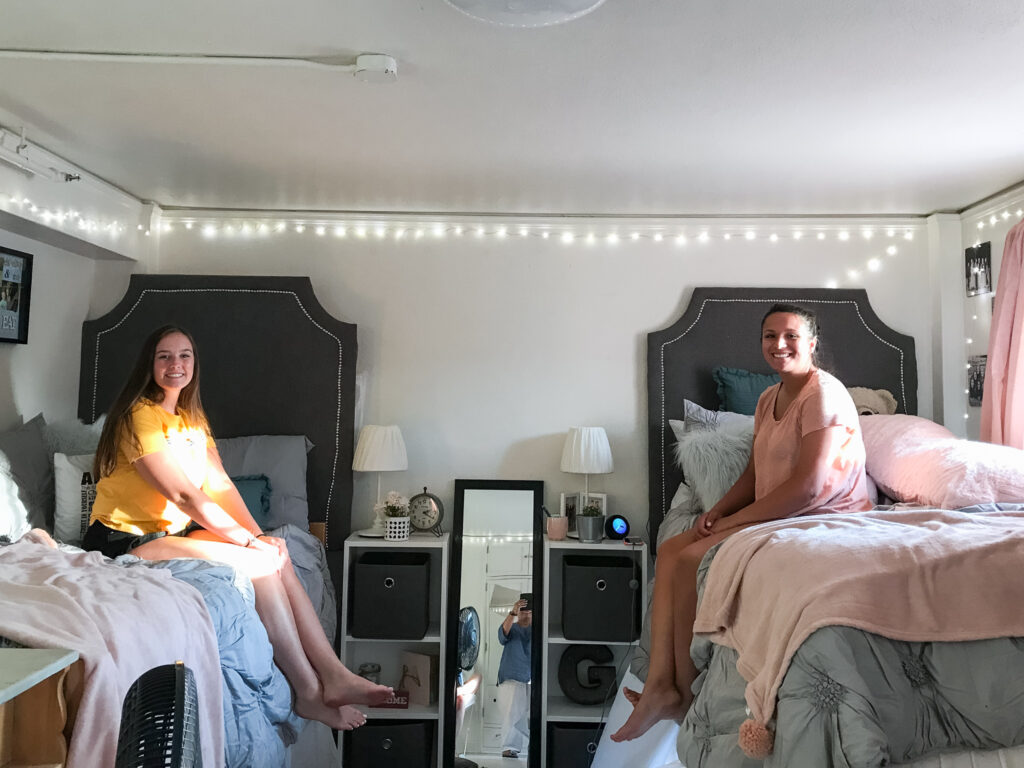
For installation I bolted the board to 2x4s attached just on the inside of the bed posts. Since I wouldn’t be able to bolt them to the bed itself – though I was tempted – I wanted the 2x4s to sit on the floor for support. I then took velco strapping and looped them around the bed post at a couple spots in each leg. This technique, plus pushing the bed and headboard completely to the wall, created a super secure structure. Although I’m a bit embarrassed to say I did bring power tools to move in day. I didn’t know the exact height of the bed and waited to cut the 2x4s to the appropriate length. We waited to send the girls off to wait in the check-in line and to save them from a cringeworthy moment when mom was using power tools in the dorm. I went quickly and the sawing only lasted a minute or two. Afterward I did hear one mom in the hallway ask, “did I just hear a saw?”
Supplies:
Thin board
Reciprocating Saw
Fabric
Foam Backing
Spray Mount
Staple Gun and Staples
Brad Nails
Small Hammer
Box Cutter